Seed Bombs • Clay Imprints • Weaving
We spend most of our days outside, but occasionally for one reason or another, we end up spending a day inside. On those days we are like, “what do we do now?!”
That is when we bring the outdoors in! Another Barefoot family invited us over for some indoor nature activities and we jumped at the chance!
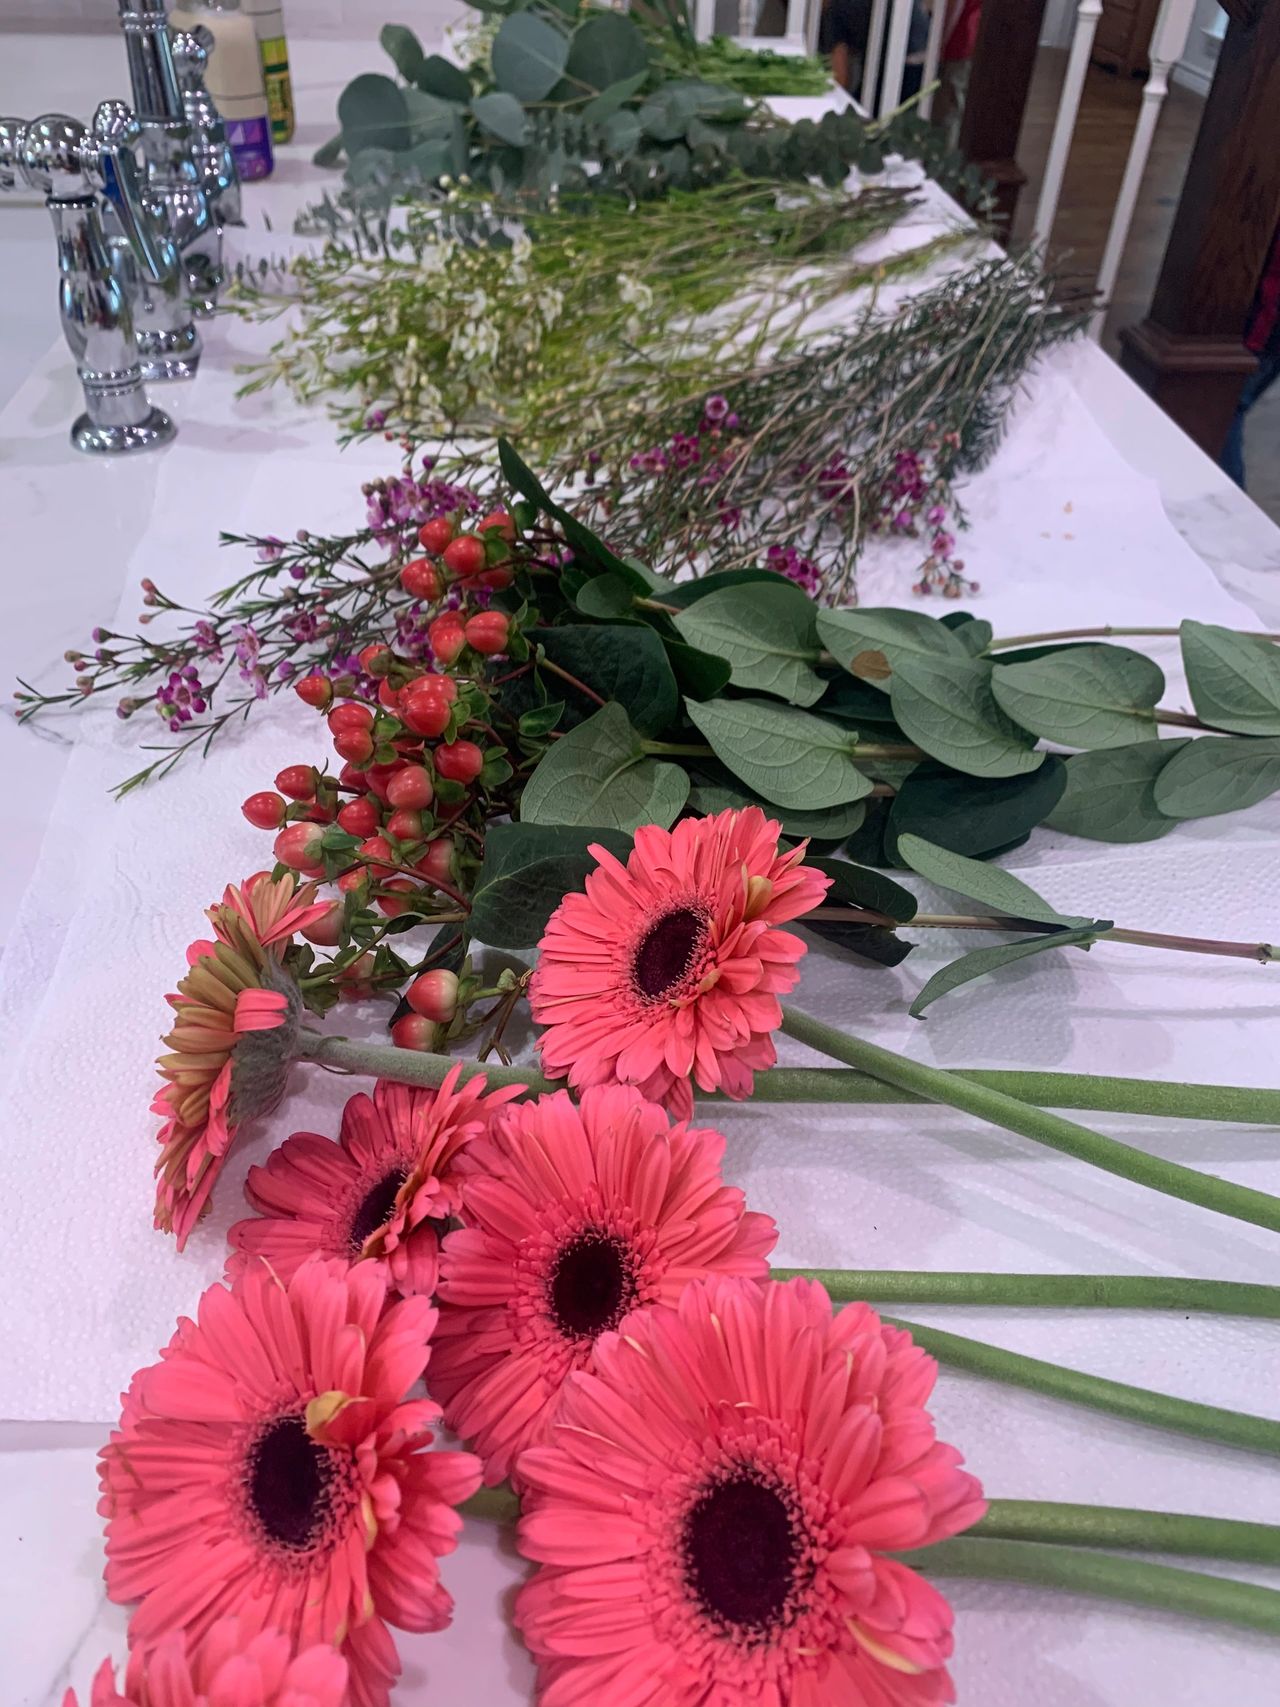
She gathered a few supplies that we could use on several different crafts and we let the kids creativity flow. We made three different crafts; seed bombs, nature weaving, and clay imprints. They were all a hit.
First up, was nature weaving. This was such a great activity, even the moms participated. It was so much fun to see everyone’s different arrangements and color pallets. Even the littlest hands were able to weave the stems through the rubber bands and create beautiful art.
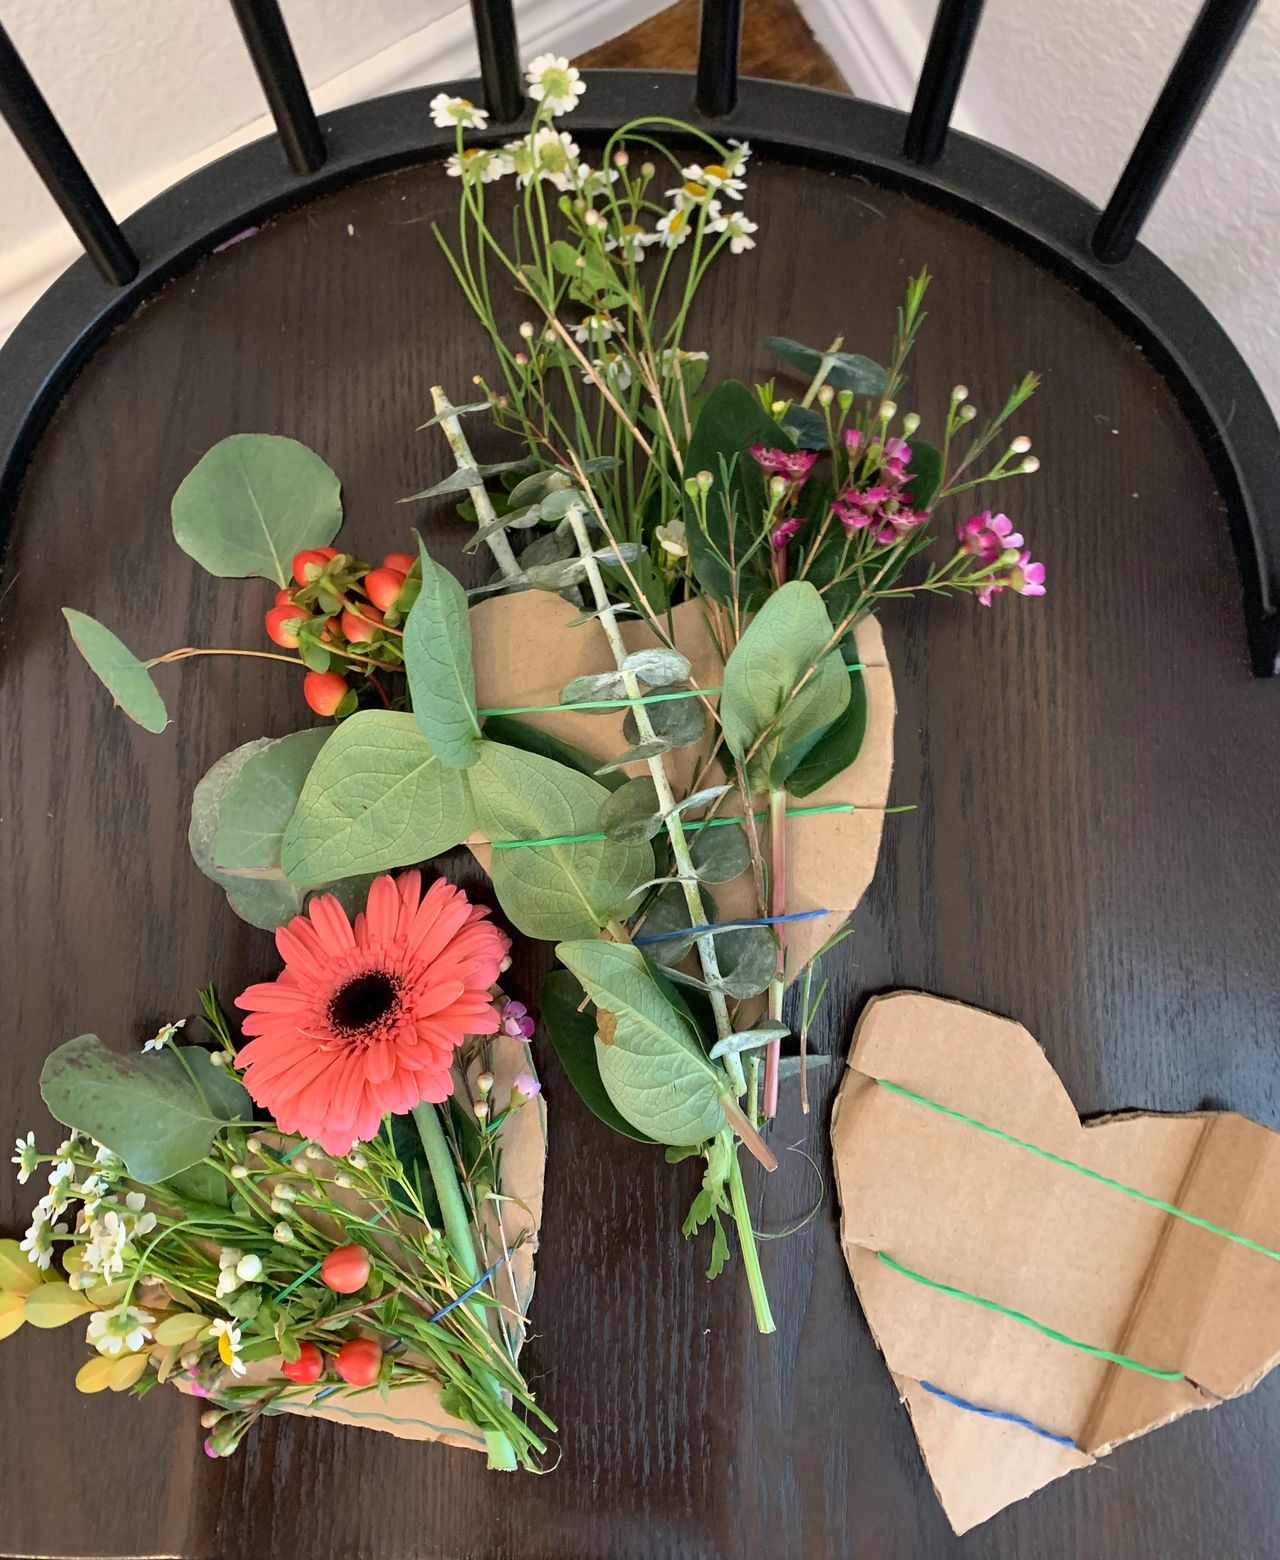
Supplies Needed: Cardboard (pre cut in whatever shapes you’d like), Rubber Bands, Fresh Flowers or Plants
Directions: Cut tiny slits every inch or so around the outside of your cardboard shapes. Gently place the rubber bands onto the cardboard and inside the slits to secure them. Let the kids weave the plants in and out of the rubber bands. They can add as many or as few as they want. There’s really no rules to this. All of ours were completely different and unique. Just like nature, the differences each exposed their own beauty.
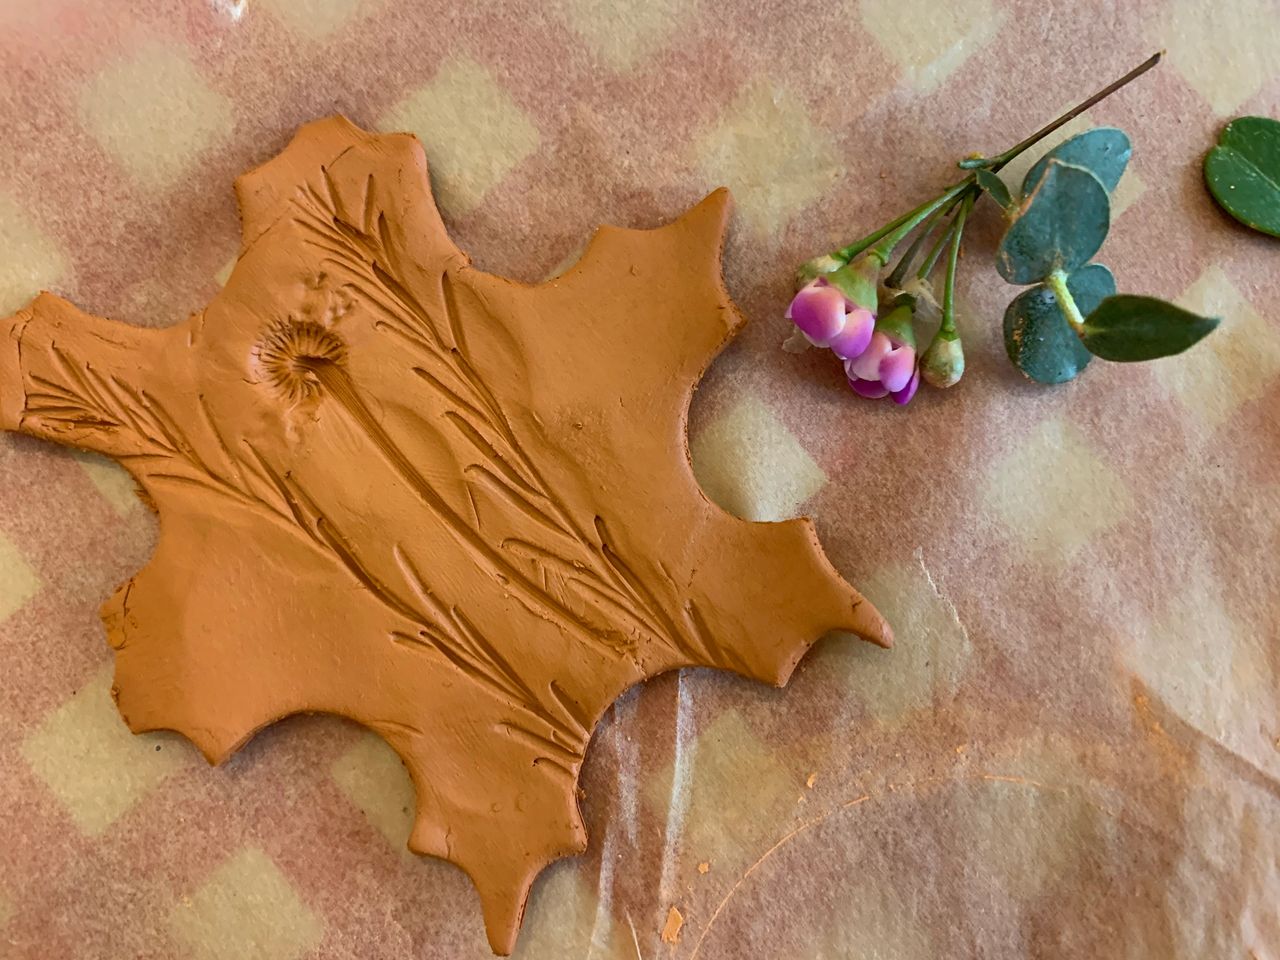
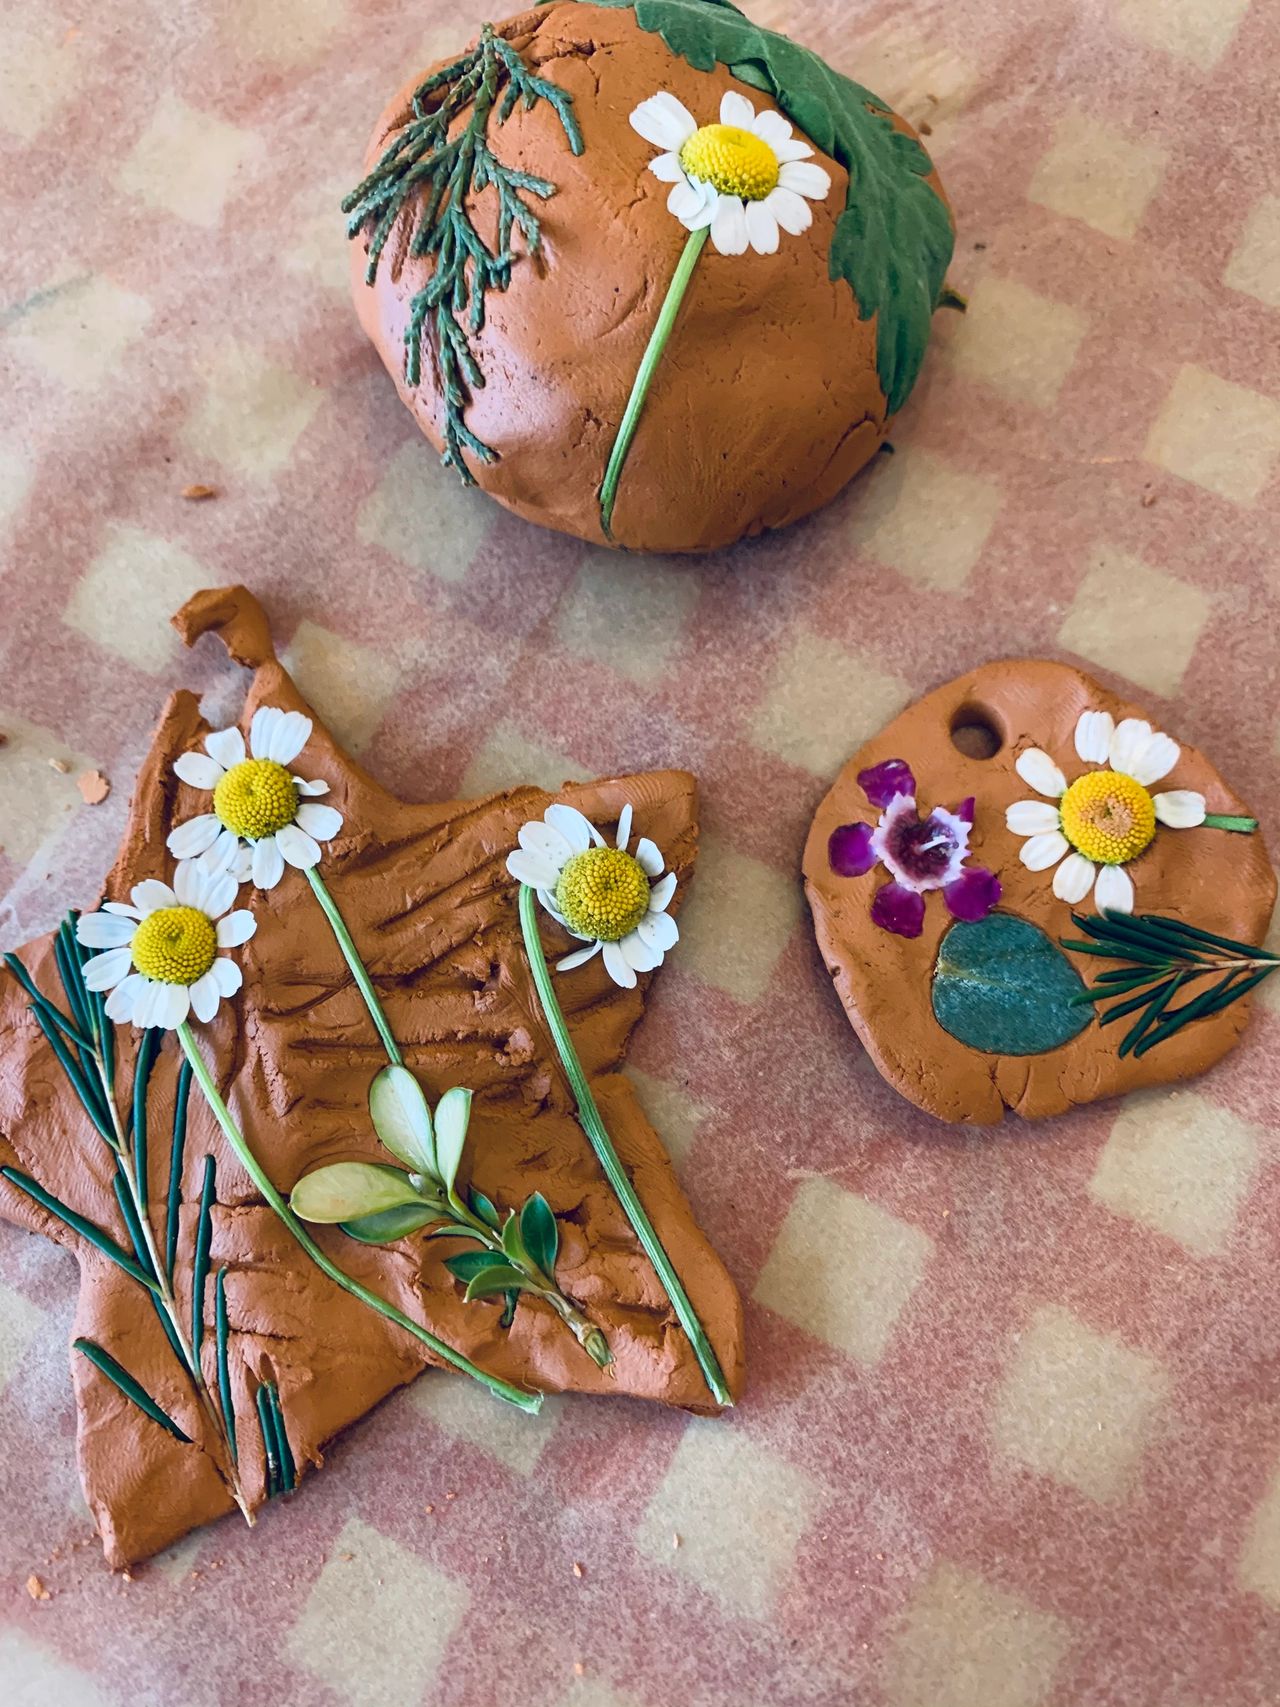
Next, we used the left over flowers and clay to make clay imprint ornaments. These are so pretty, we chose to hang them indoors but some of our friends hung them on trees outside.
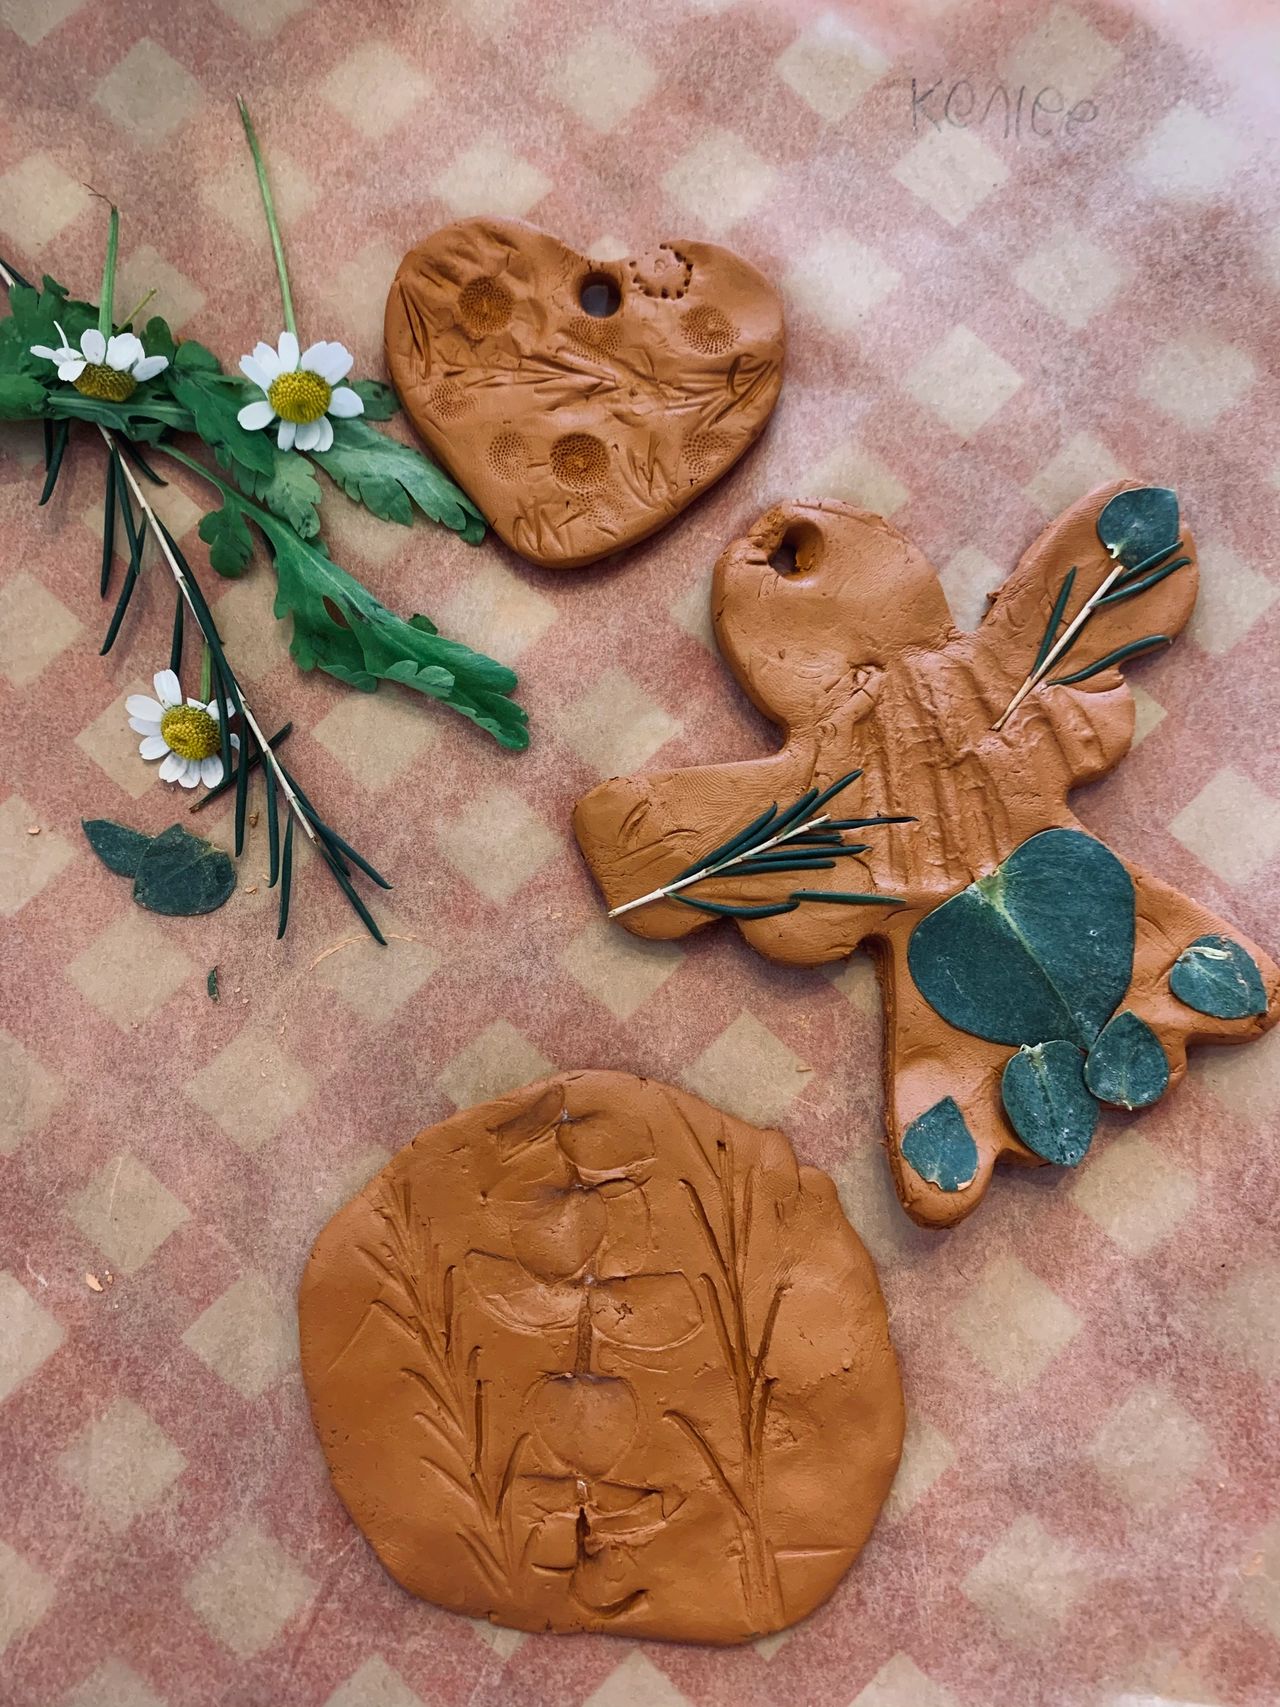
Supplies: Clay, Leftover Flowers, Cookie Cutters, Twine, and a Pen or Straw
Directions: Give each child a chunk of clay and a cookie cutter. Let them smash the clay down and cut their shape. Using the flowers, press them into the clay shape to make an imprint. They can remove the flowers to reveal the imprint or leave them on the clay to dry. Using a pen end or straw, gently cut a hole in the clay. You will use this hole to thread the twine though. Let them dry and then hang them up for a cute direction.
Last, we made seed bombs. If you don’t know what seed bombs are, you’re missing out on the fun. They’re actually a technique of planting that is over 100 years old. They’re little balls of seeds, clay, and potting soil. The kids decorated the outside of the bombs with left over flowers and they turned out super cute!
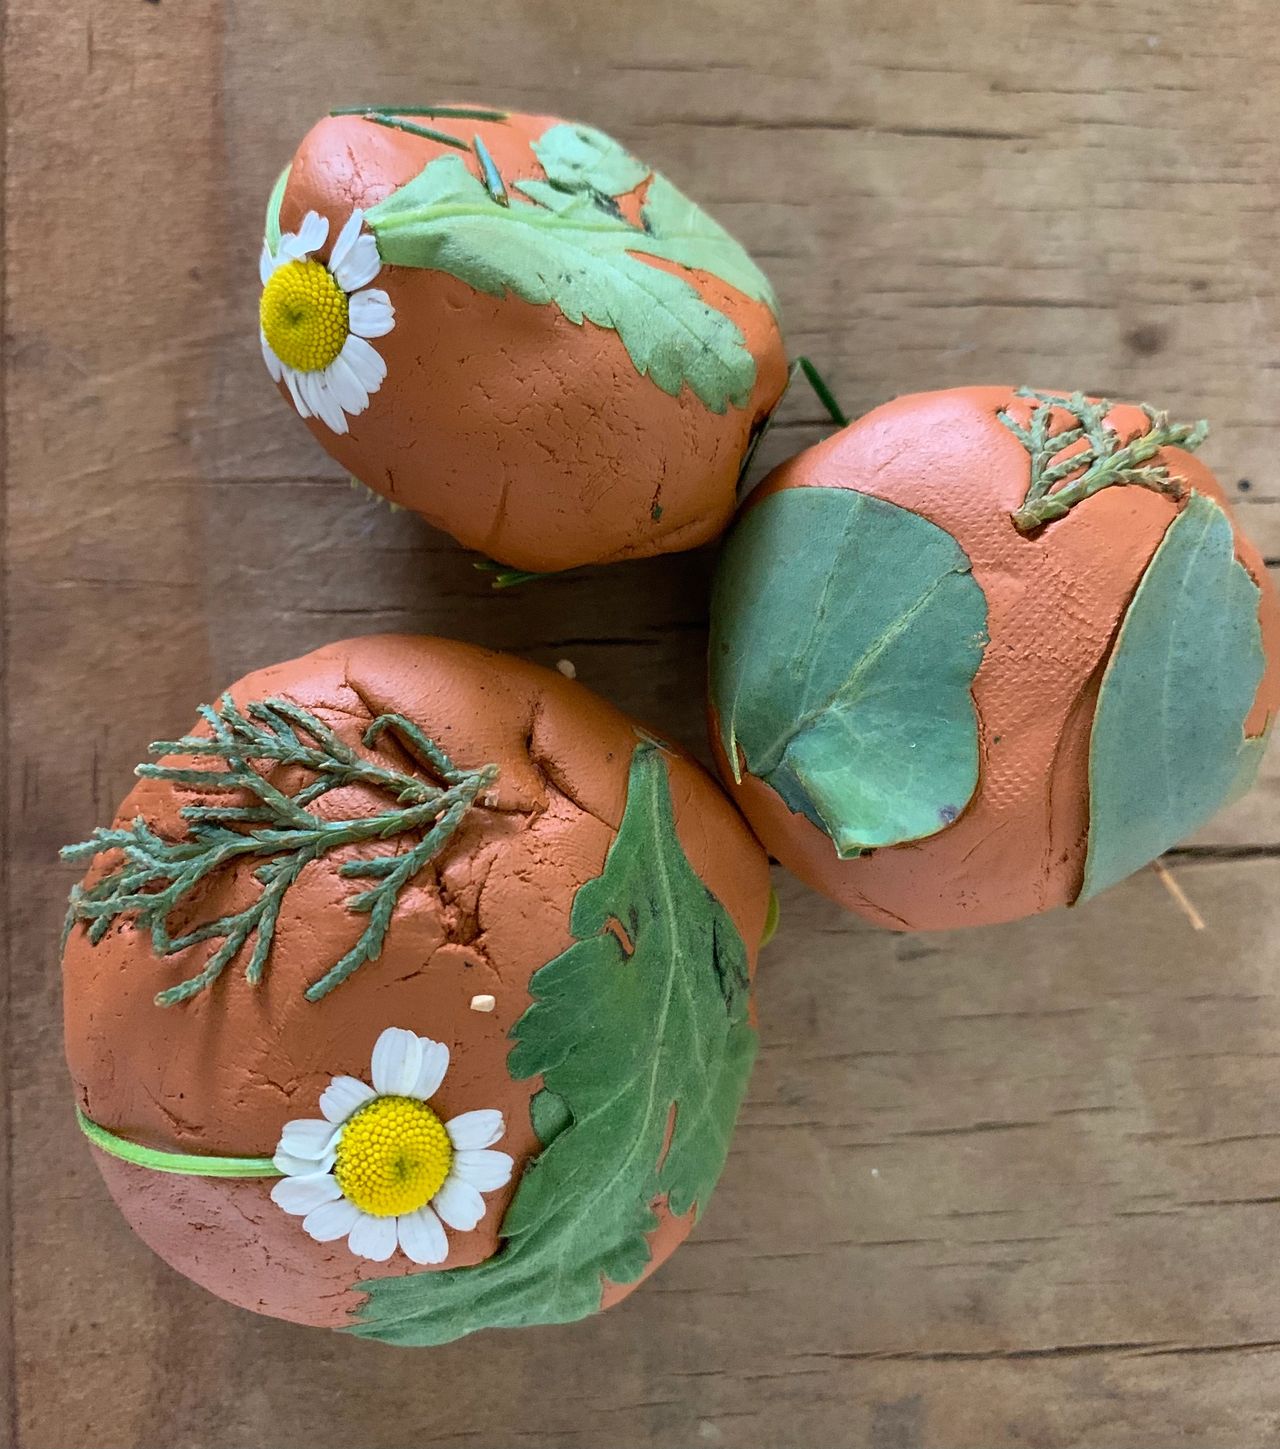
Supplies: Potting Soil Mix, Clay, and Wildflower Seeds
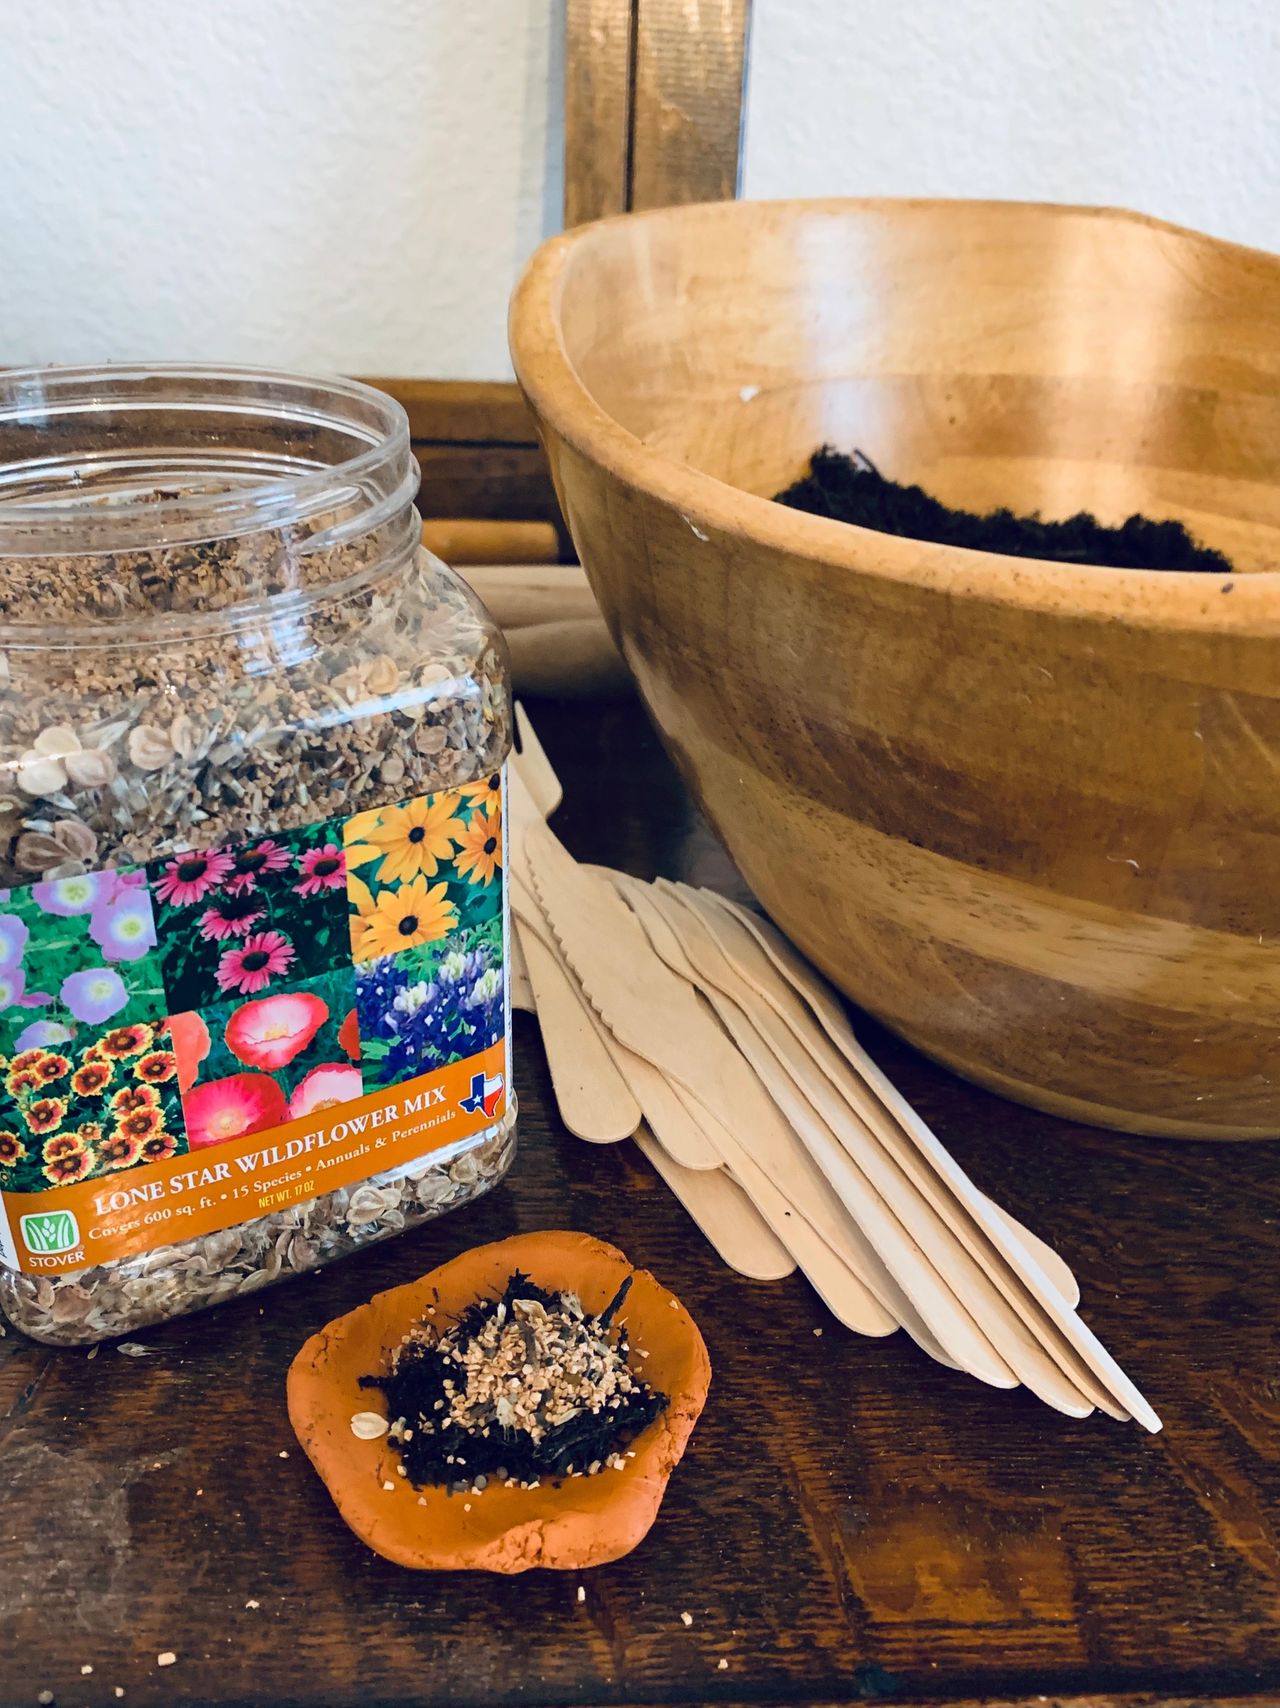
Directions: Create a small “bowl” using the clay. Put about a teaspoon each of potting soil and seeds into the “bowl.” The soil is important because it add nutrients to the seeds. Then close up the bowl, wrapping the seeds and soil inside clay. These will keep for months in a cool, dry place. When you’re ready, drop them in your yard (or where ever else you might want them to grow). Full sun is the ideal spot. After you drop them, the clay protects the seeds from hungry animals or insects. When the sun, water, and temperature are all perfectly aligned, the clay will break down. That allows the seeds to germinate. The next thing you know, you’ll have flowers!
Tada! There you have it, three easy crafts and a great way to still experience nature, even if you’re not outside.
– Amber